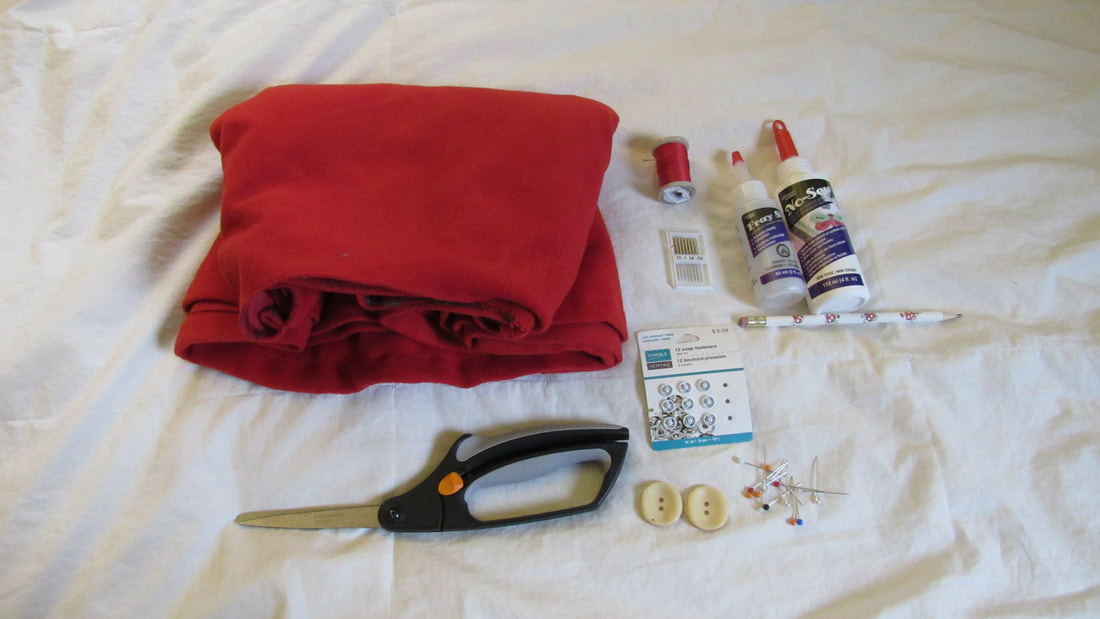
What You Will Need:
 Basic Shape and Pattern DraftingIf you are planning on making this project from scratch using new fabrics, you should follow the list of tools I have typed out above. However, I actually made my cape using an old jacket I found at a clothing swap in November of 2018.  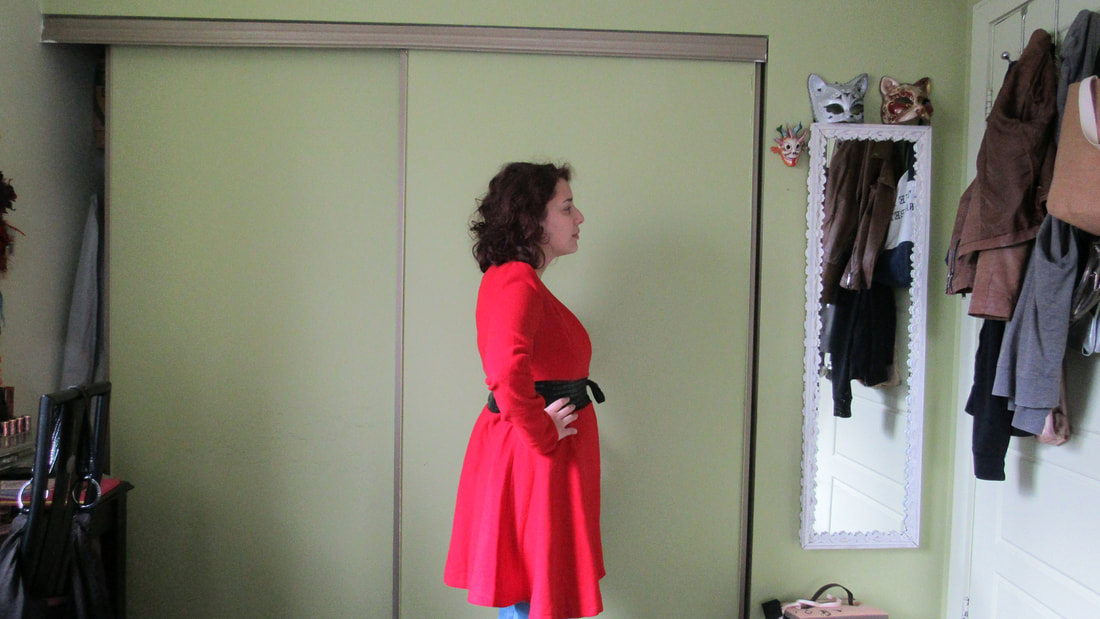 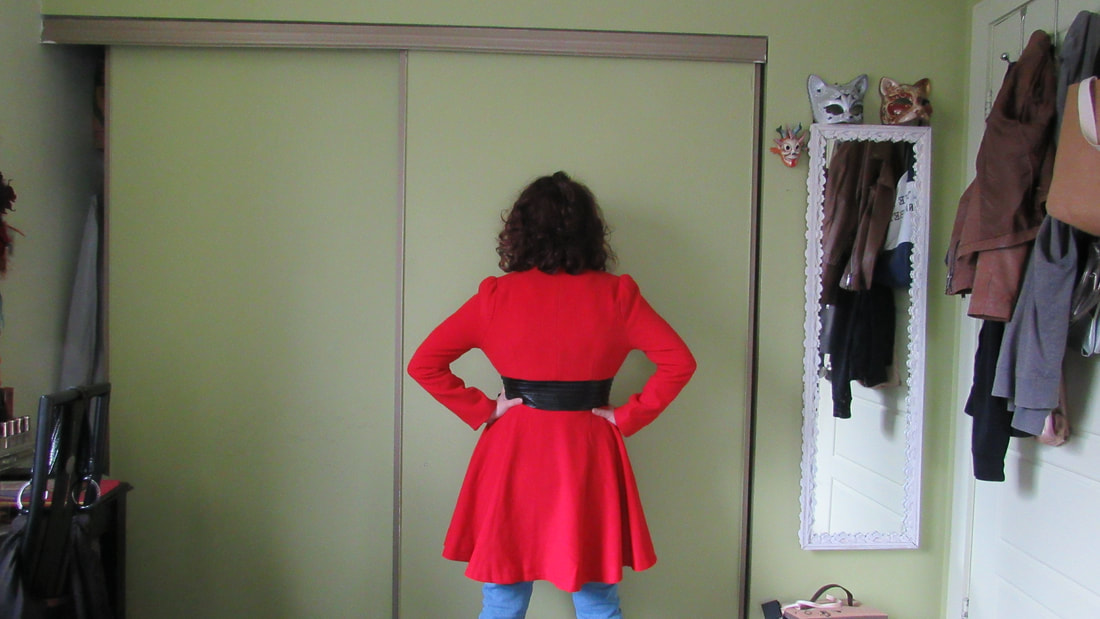 While the coat is super cute and flashy and beautifully tapered to my body, it is sadly too small for me and the faux leather belt was falling apart. The lining in the sleeves also had a few rips in them, though they aren't pictured. Nevertheless, I was able to get my basic cape shape thanks to the jacket's flared skirt. So I simply cut the skirt piece off the jacket to form my principal shape. 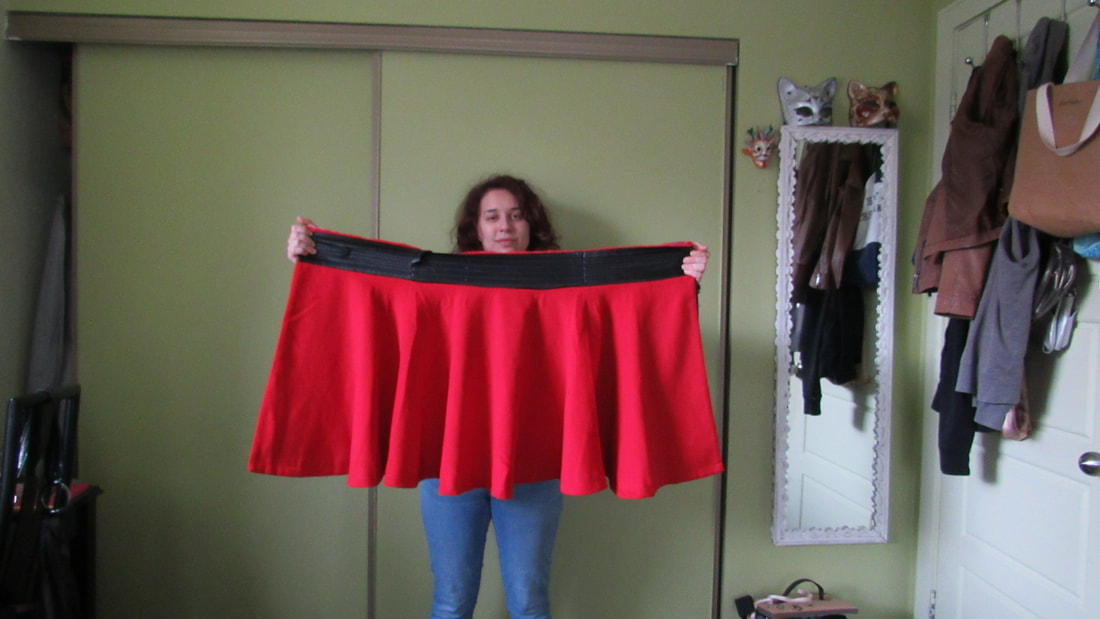 If you're not using something that already resembles a cape or you're using brand new fabric, you'll want to make a simple circle skirt pattern. Circle skirt patterns are relatively common and you can often find commercial patterns for them anywhere that sells them. Otherwise, making your own pattern is easy, quick and a much cheaper option. Explaining this process here would be too confusing, so I'm going to suggest looking up a visual tutorial for this step. Annika Victoria, a YouTuber and DIYer, has a great video about making your own circle skirt here: The basic idea is to measure the capes opening by replacing your waist measurement with a loose neck measurement and using the same calculations to draft the pattern on a large piece of paper. You can also omit the waistband, as it isn't necessary for this project. Remember to keep your fabrics length in mind when deciding on the length of your cape pattern, and always remember to include a seam allowance when using woven/non-stretch fabric. After all that, your pattern should look something like this: 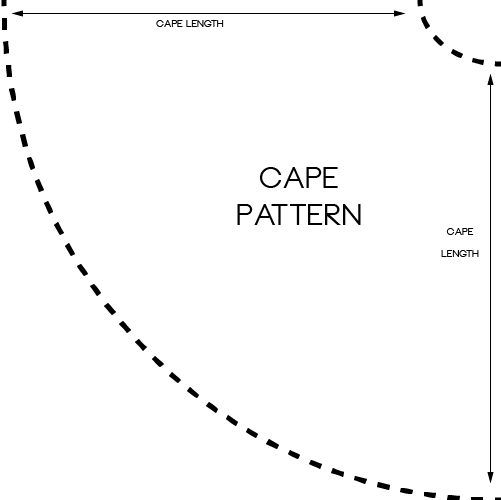 After placing this pattern on your fabric folded twice, cut out the shape of the pattern and you'll be left with one big circle. Cut straight up the skirt to create your cape shape. 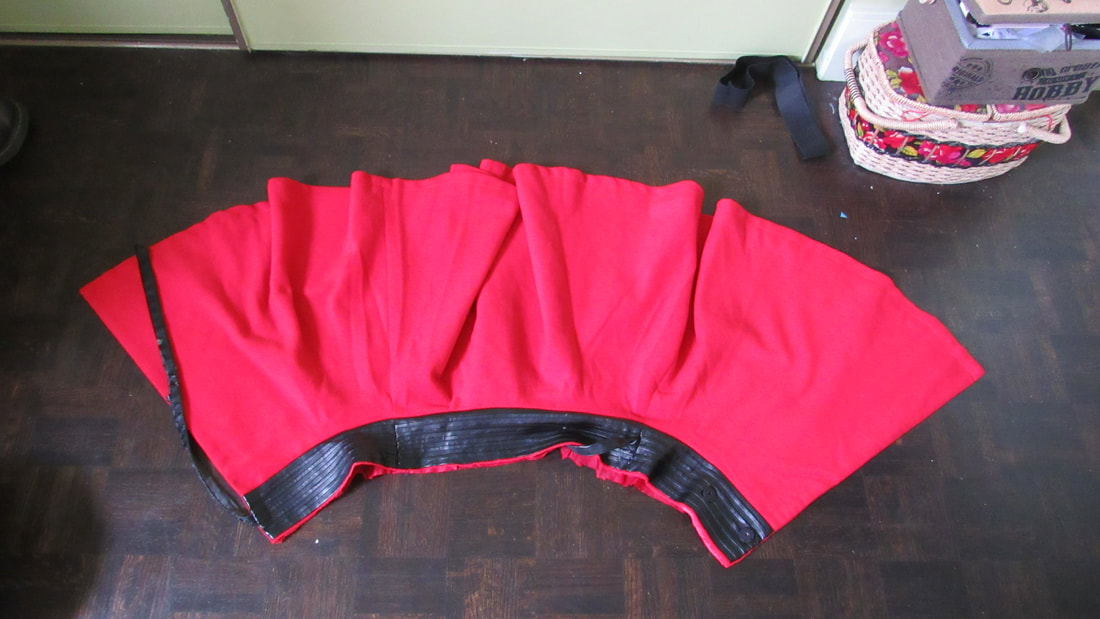 Hemming and FinishingNow that your basic shape is done, it's time to finish off the edges. There are many ways to do this depending on your skillset, but I would recommend using an overlocker/serger or applying a layer of fray stop or fabric glue to the fabric's edge. The former allows a much more professional finish and can be used for many different projects. However, if you don't have the budget for an overlocker, I would suggest sewing the edges with a narrow zigzag stitch and then applying fray stop or glue to the raw edges. The zig zag stitch will act a sort of fake serge effect and the glue will keep the fabric from fraying anymore. Make sure you're using fabric glue instead of craft glue or hot glue because fabric glue will cling to the fibres and dry clear, while other types of glue will gunk up, expand and dry visibly. 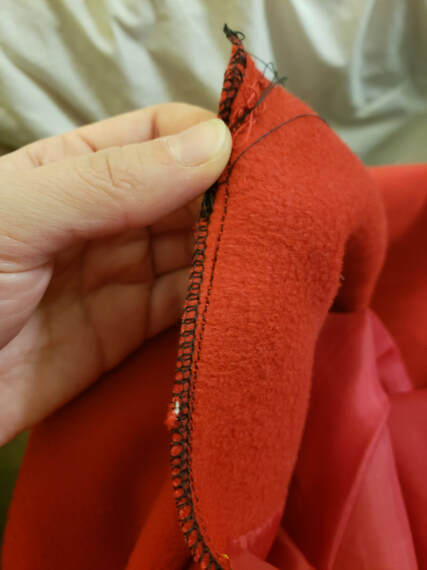 After finishing the raw edges, be sure to hem your garment by folding the hemlines in and securing it with a standard straight stitch. Use fabric pins to hold the hemline in place. Adding Snaps, Buttons and NotionsFinally we've reached the last steps of this project, which is adding your buttons and snaps! The easiest method of securing your cape is just by hand sewing snap closures to your cape, and then optionally adding more decorative buttons afterwards. However, I ended using my buttonhole foot on my sewing machine to add a proper button and buttonhole in the circled section below. Practice your buttonhole a few times on scrap fabric before adding it to your cape, because they can get a bit tricky. You may also choose a different closure method depending on your own experiences and preferences, like ribbon ties, velcro or adding a zipper. This part of the project is the most personal to you so don't be afraid to experiment. 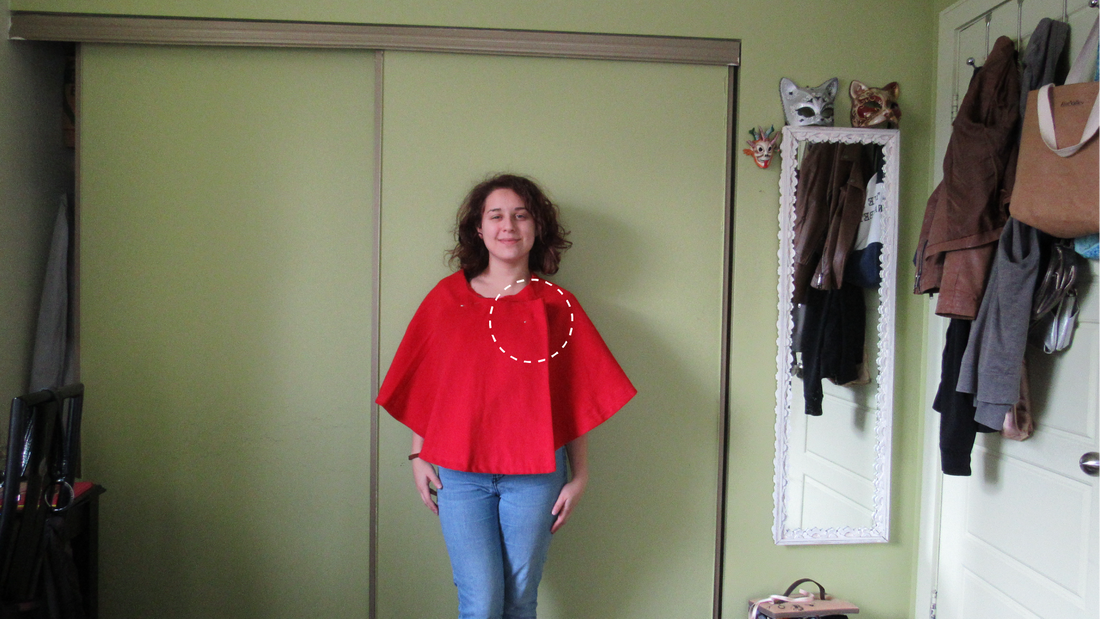 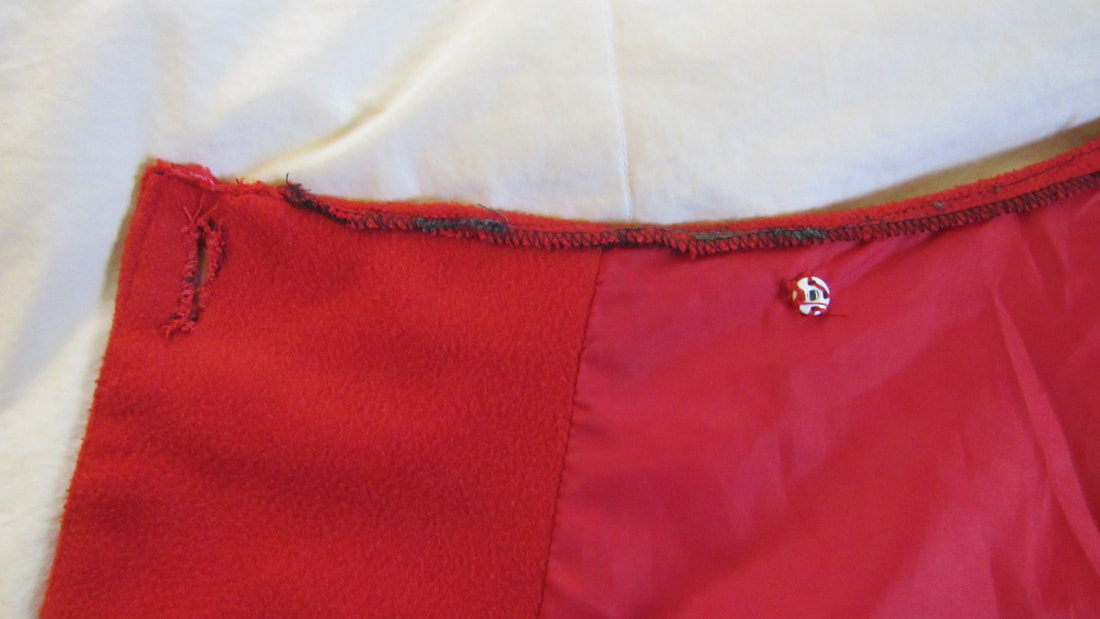 After adding my button and buttonhole, I added an additional small snap closure on the inside so that it would be snug and secure. I made sure to only sew through the lining of my cape so that the thread wouldn't show through the fabric. If your cape isn't lined, you can keep the stitches small using your matching thread or hide the stitches with some decorative buttons. 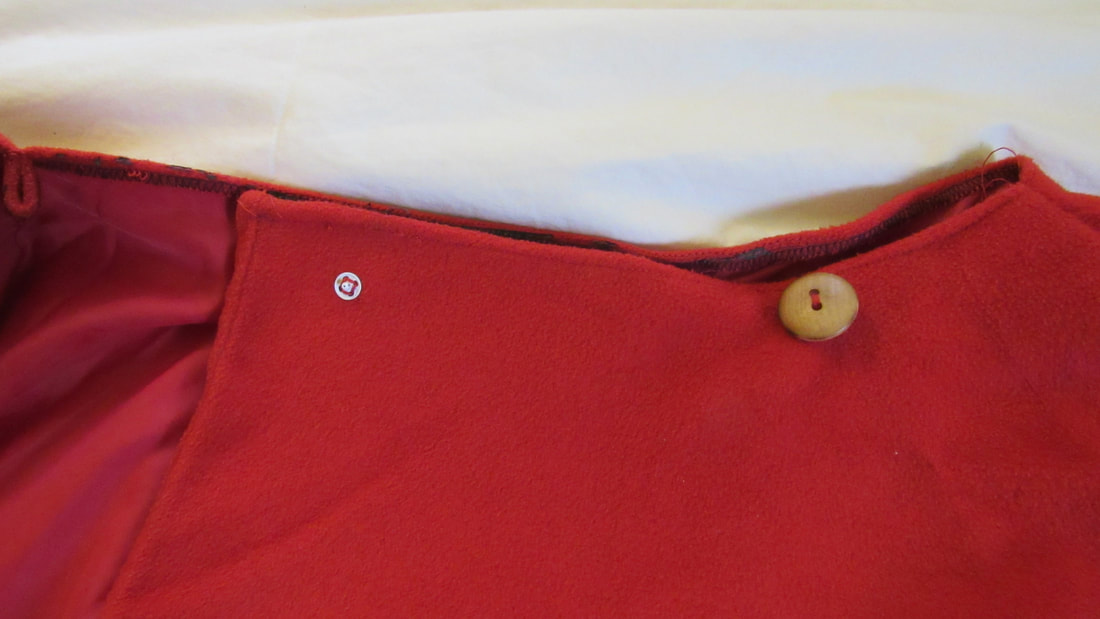 Once you've finished adding your final details, your cape is done!   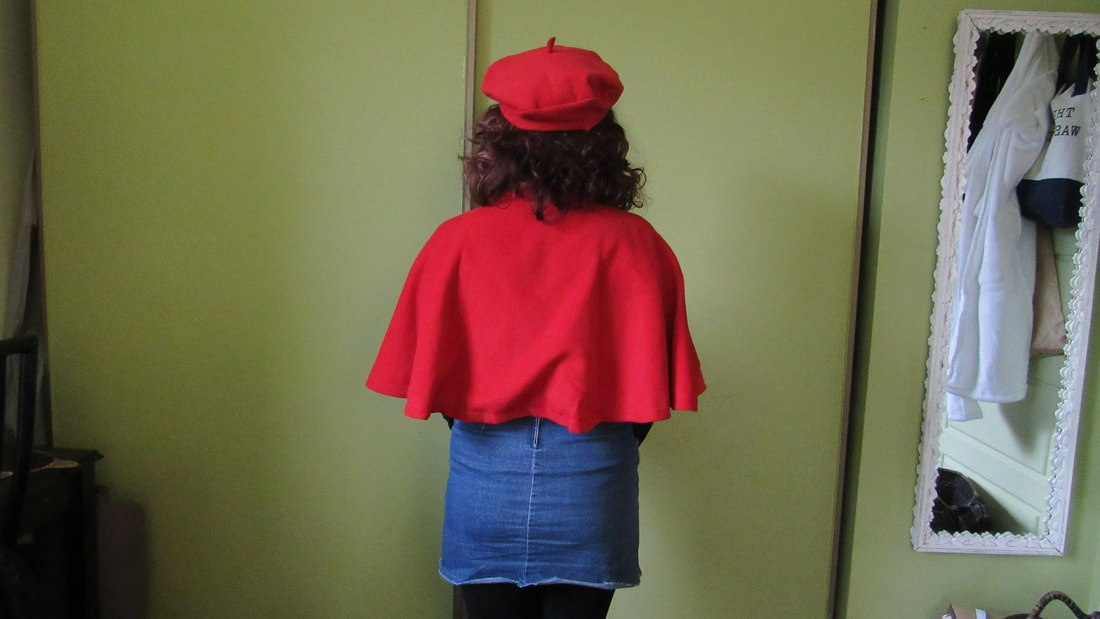 I hope this tutorial inspired you to try some fun new projects this year! Good luck!
0 Comments
Leave a Reply. |
AuthorAndrea Mestre Archives
May 2019
Categories |

 RSS Feed
